Language
 Mastech EN
Mastech EN
Mastech EN
How to Measure DC Amperage Using a Clamp Meter
If you're already familiar with what DC amperage is and why it matters (if not, check out our previous blog post), you're probably wondering how to measure it in a safe and effective way. That’s where a clamp meter with DC capability comes in.
Here’s a quick, step-by-step guide to measuring direct current (DCA) using a clamp meter, along with tips to get accurate readings.
What You’ll Need
⚠️ Note: Not all clamp meters support DC current. Make sure your device includes Hall Effect sensors or mentions DCA specifically.
Step-by-Step: How to Measure DC Amps with a Clamp Meter
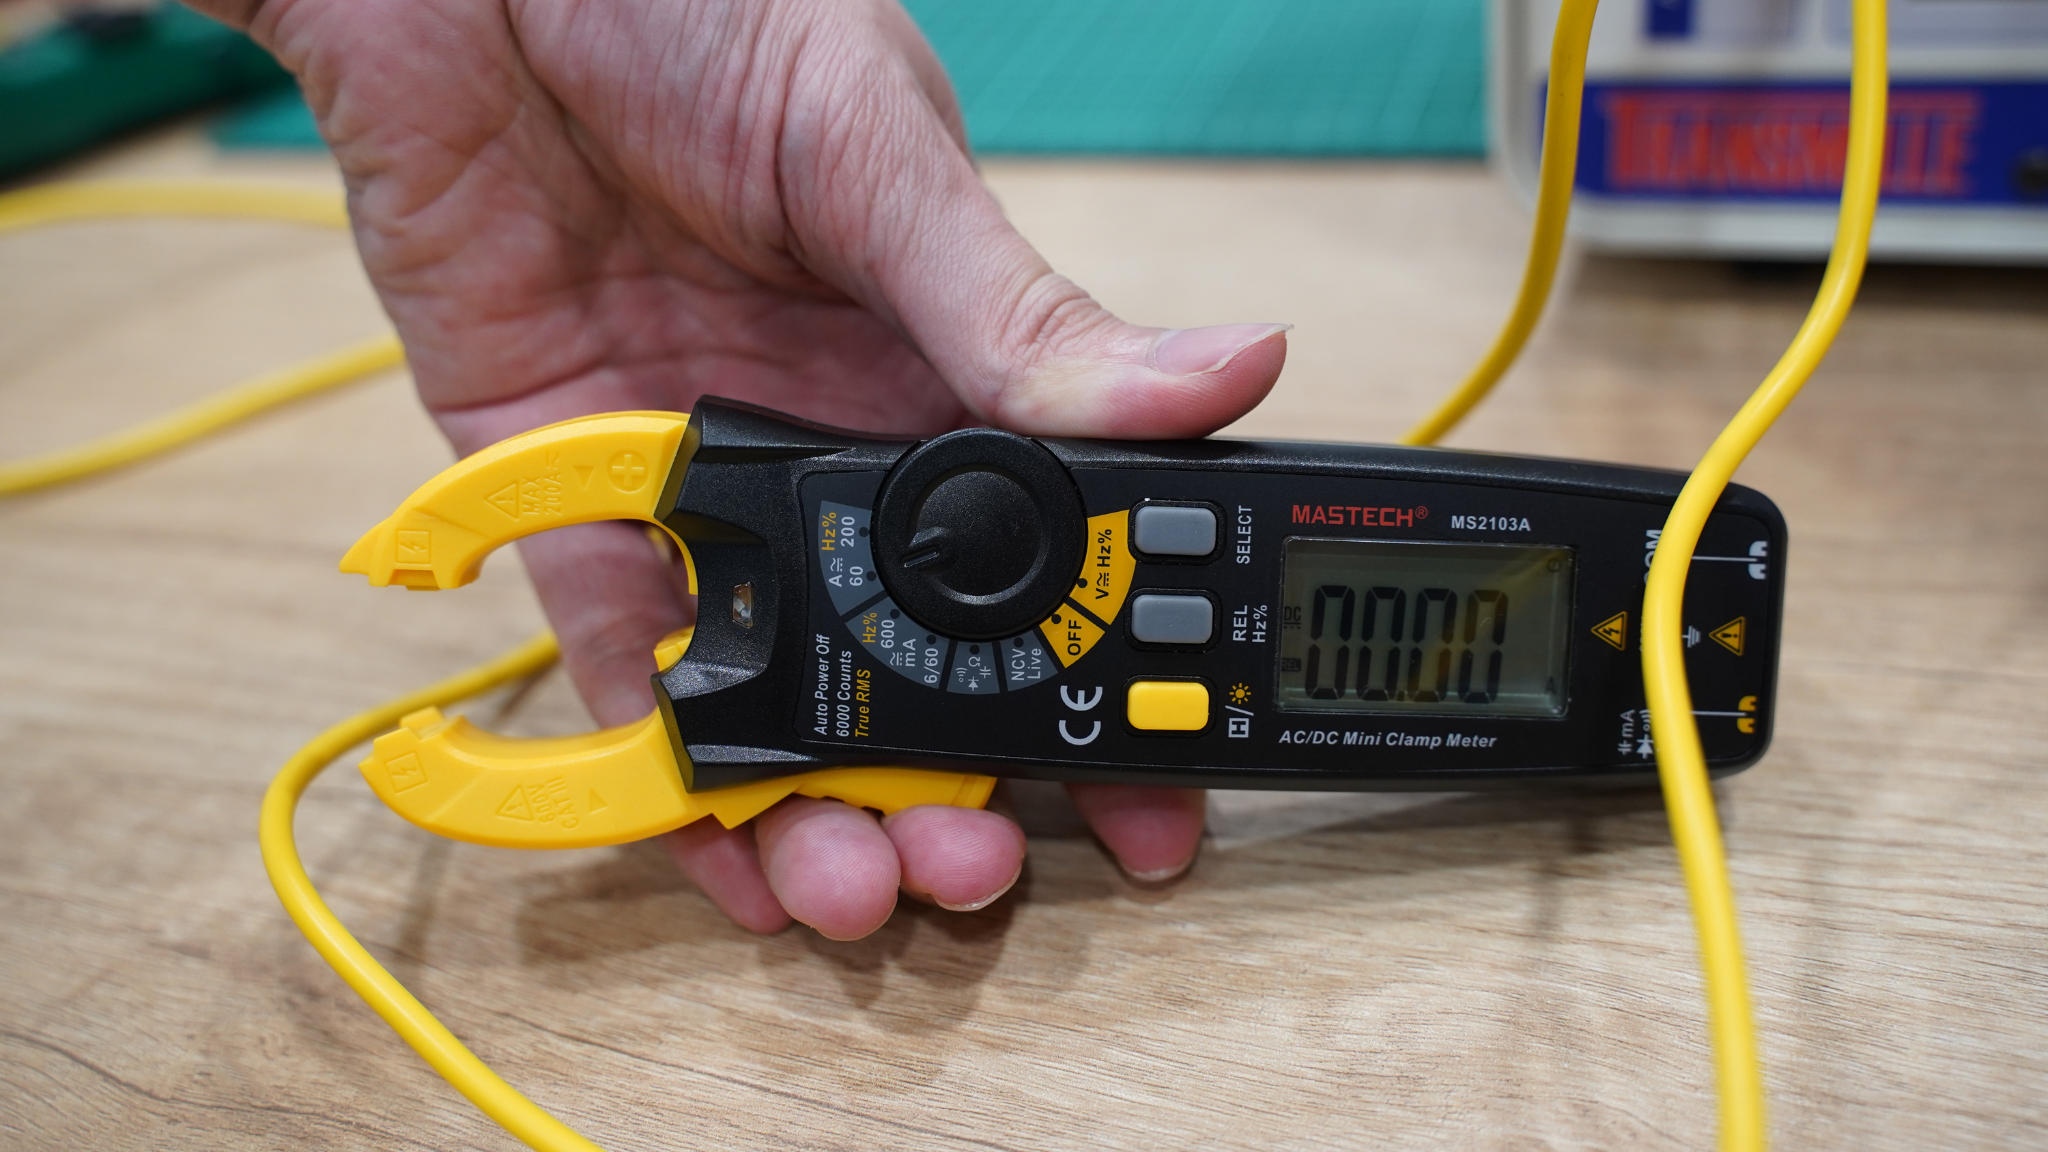
1. Power On and Select DCA Mode
Turn on your clamp meter and set it to the DCA or DC A setting. Some models may have a shared AC/DC amp mode—double check the symbols or manual.
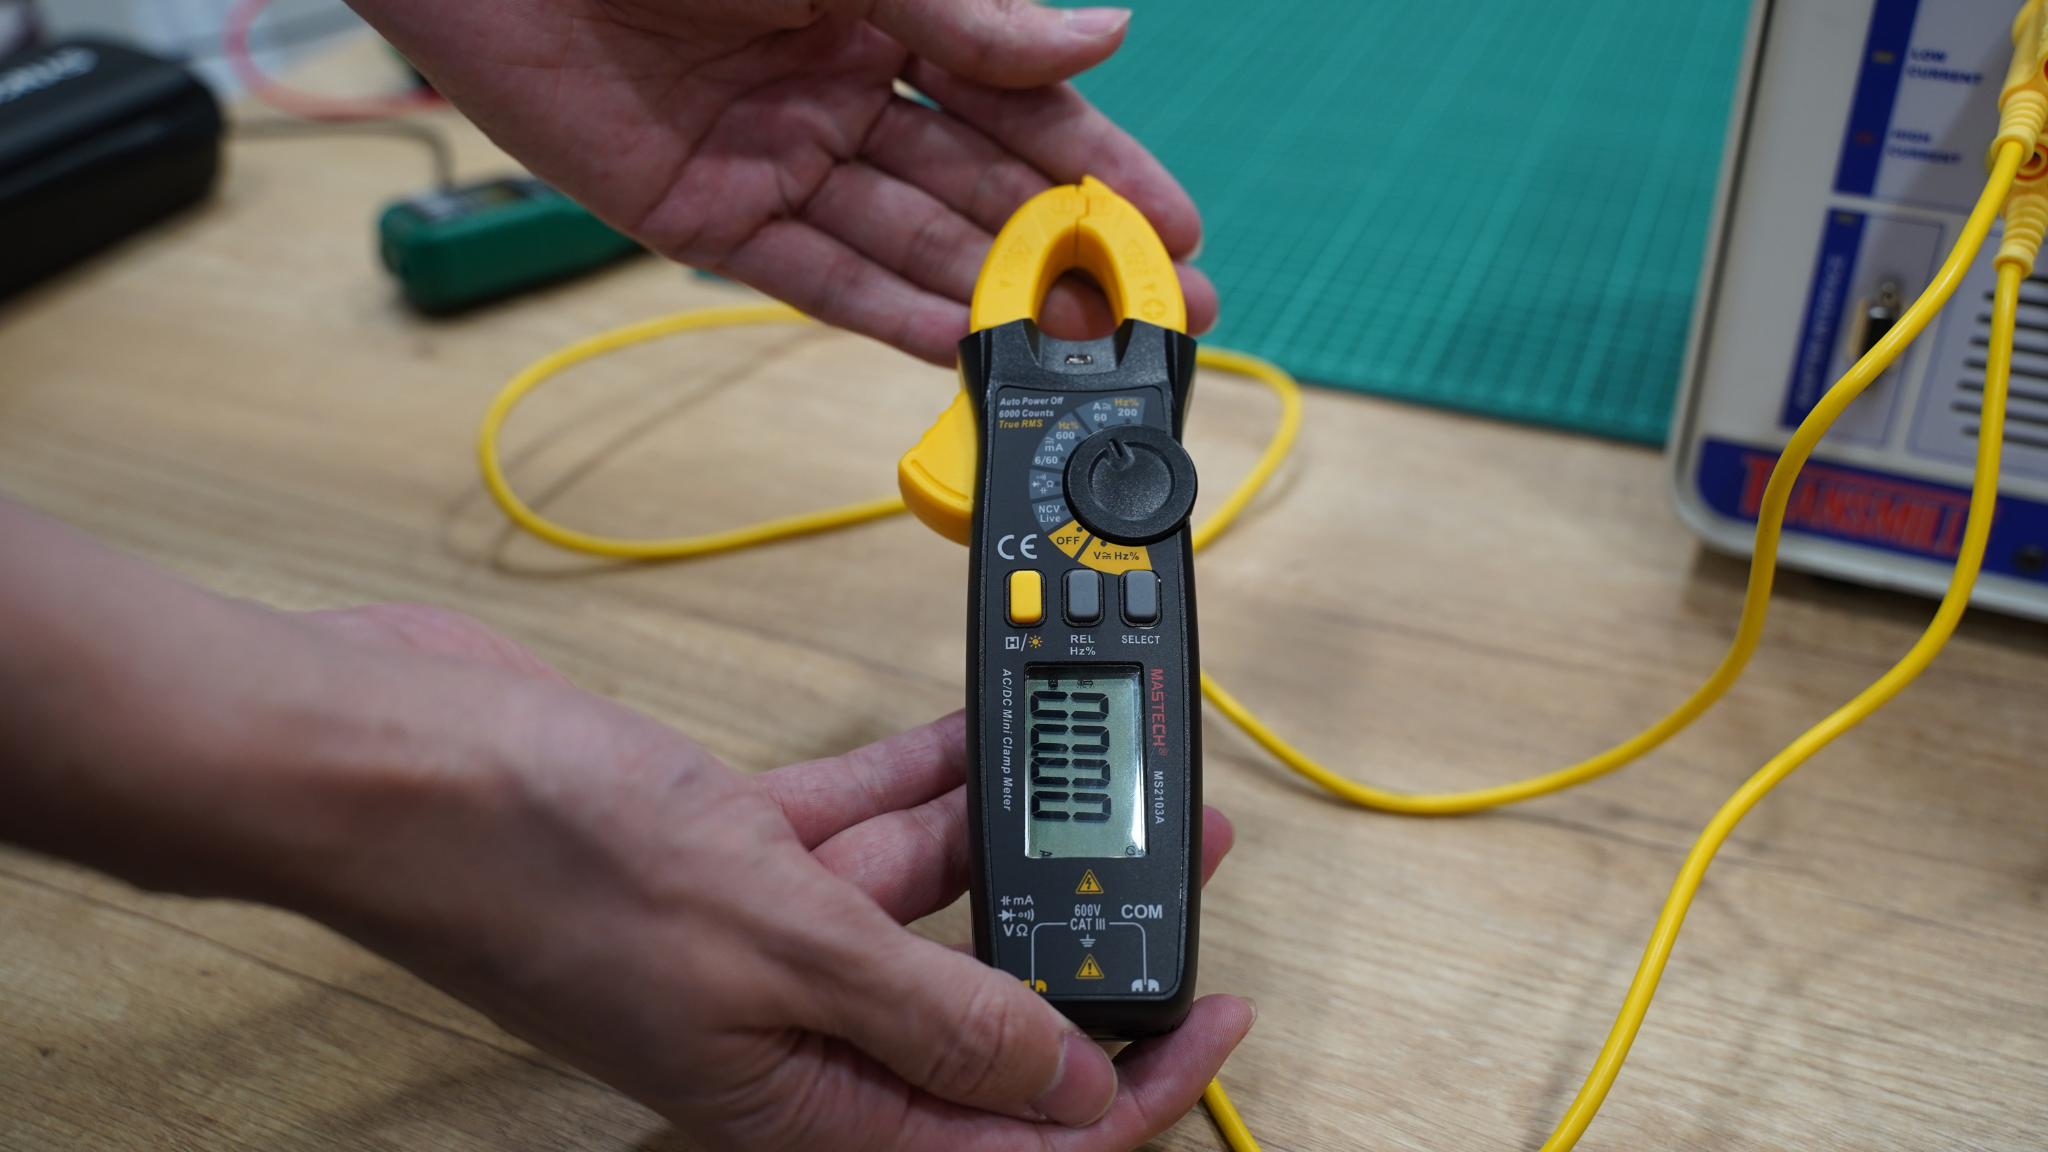
2. Zero the Meter (If Needed)
Most clamp meters with DCA functionality have a zero or “REL” button to account for magnetic interference. Press this before taking a measurement to ensure accuracy.
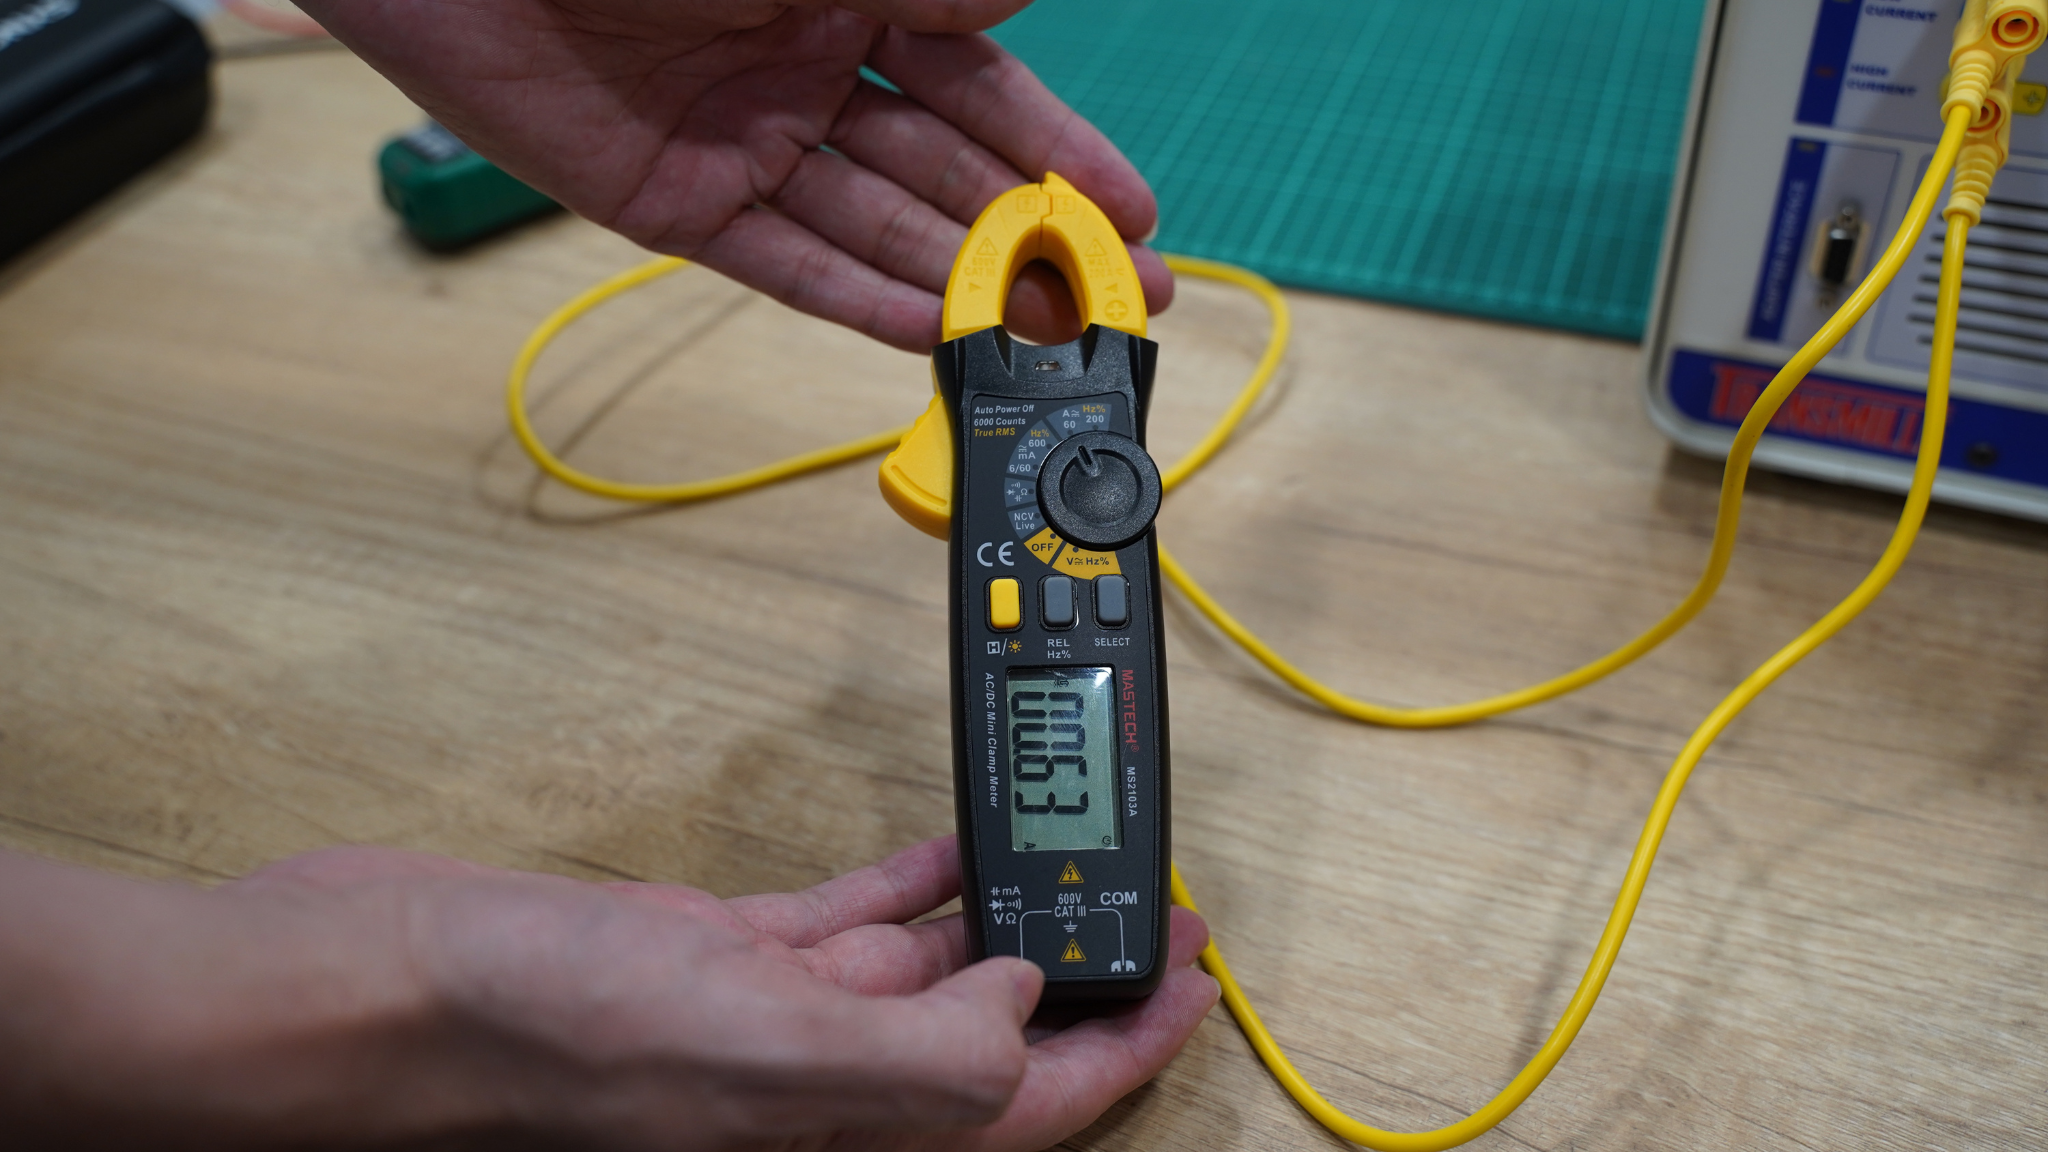
3. Clamp Around One Conductor Only
Open the clamp and close it around only one wire carrying current—not the whole cable. If you clamp both positive and negative wires at once, the current cancels out and reads as zero.
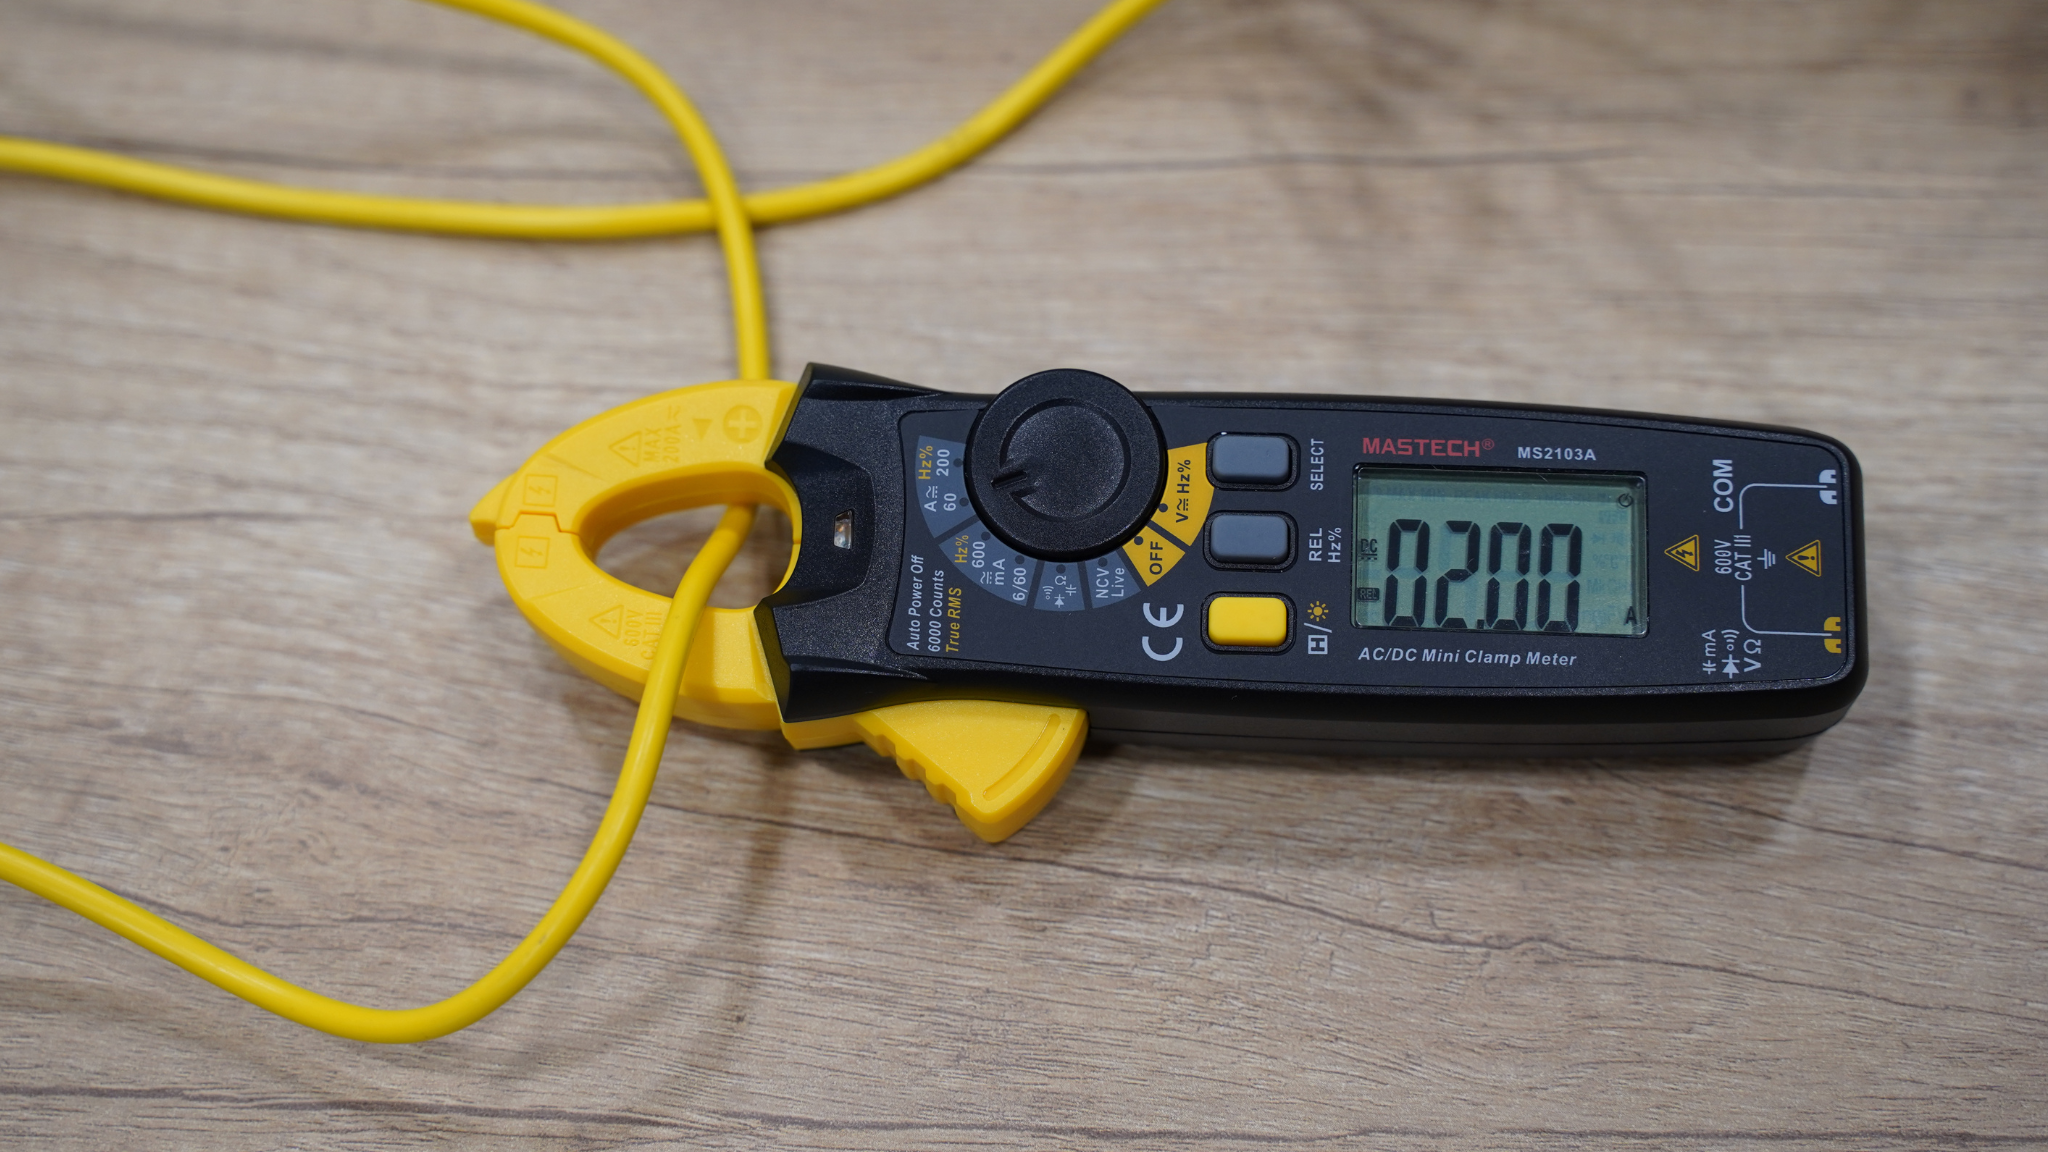
4. Read the Value on Screen
You should now see the DC amperage value displayed in real time. Make sure the wire is centered in the clamp for best accuracy.
5. Interpret the Result
Depending on your setup, your reading might show:
Tips for Better Accuracy
Conclusion
Measuring DC amps with a clamp meter is fast, safe, and non-invasive—as long as your meter supports it and you follow the right technique. It’s a must-have skill for anyone working with modern electronics, vehicles, or home energy systems.
2025-05-27
 Mastech CN
 Mastech TW